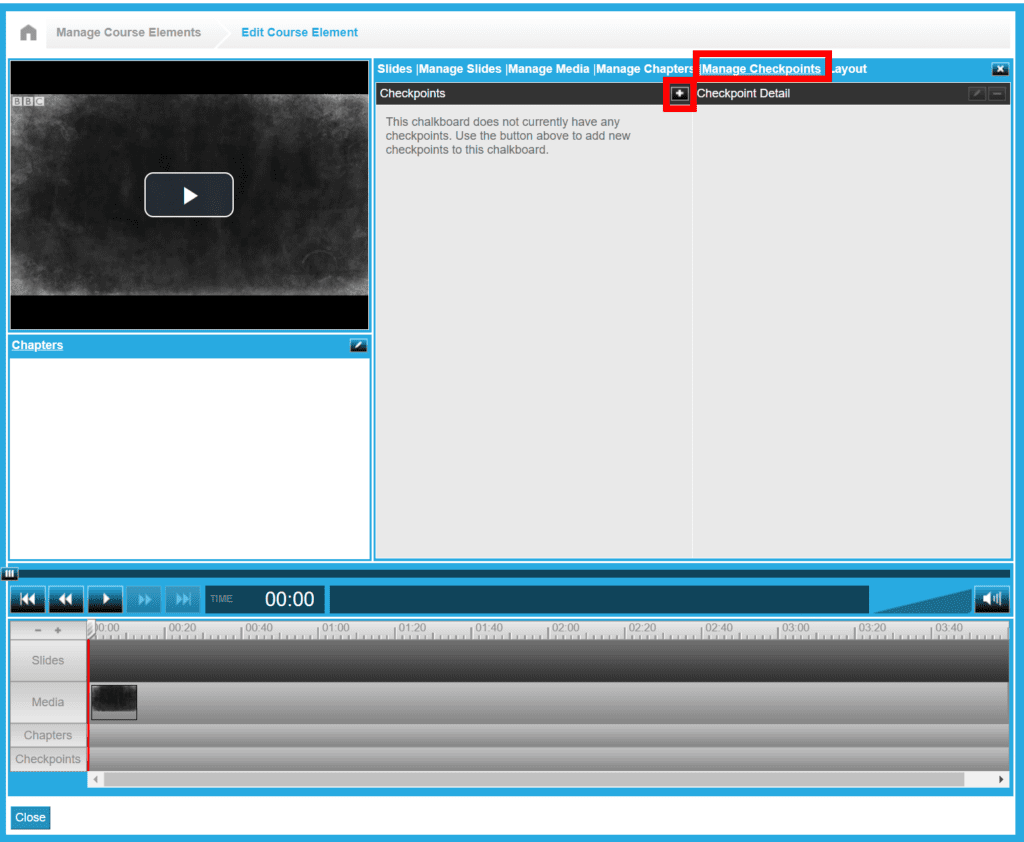
Checkpoints allow for you to set moments during the playback of the chalkboard for the user to engage in a specific activity, such as answering a question about the material they just viewed.
Click on the “Manage Checkpoints” link to create and edit your checkpoints. Click on the “+” button to create a checkpoint. Your options are:
- Add Button Checkpoint
- Add Password Checkpoint
- Add True/False Checkpoint
- Add Multiple Choice Checkpoint
Broadly speaking, there are two main uses for Checkpoints. First, you can use them to make sure that the user is paying attention to the chalkboard. Second, you can use them to test that the user has absorbed the knowledge presented in a section of media they just experienced.
Once you select a checkpoint type, you must add a prompt, text for the button, and how long the user has to respond. You can also add feedback and/or consequences to the user response.
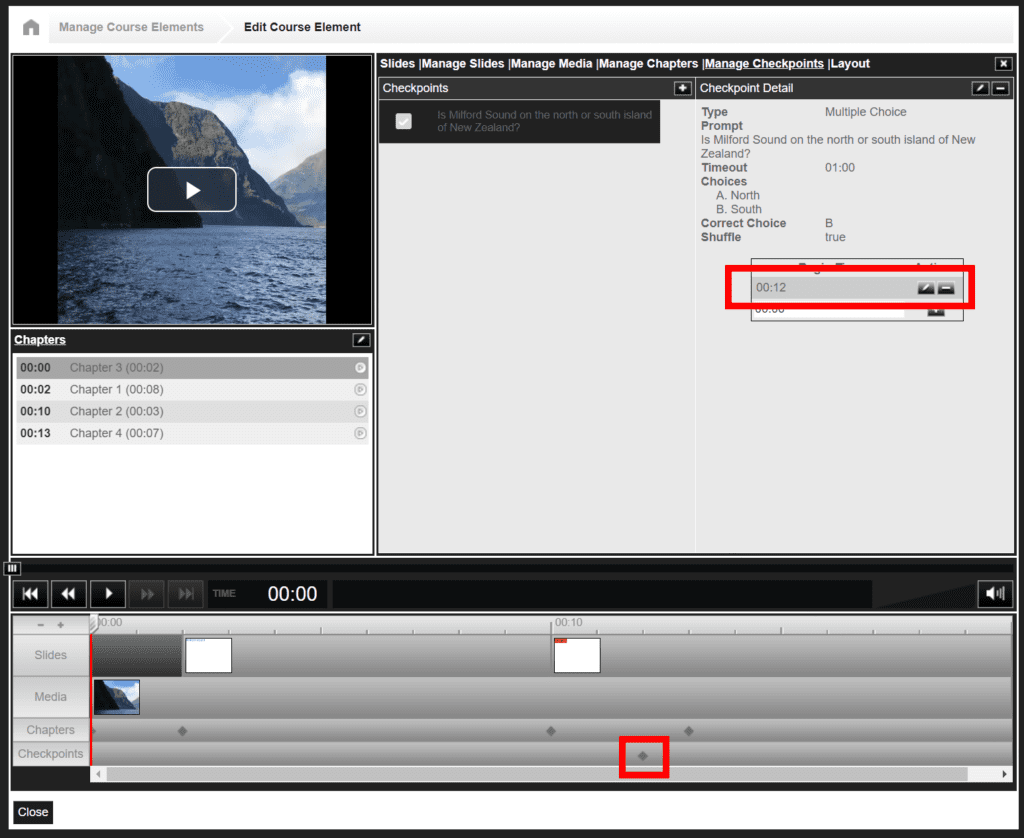
Once created, you must then select when it will take place on the timeline. Enter the Begin time to set the checkpoint. Once successfully completely, you should visually see it on the timeline itself represented as a small diamond in the checkpoints row.

To edit a pre-existing checkpoint, select it in the “Manage Checkpoints” section, and then click on the small pencil button in the header of the “Checkpoint Detail” column.
0 Comments